For most small home projects, a random-orbit sander is the most versatile powered option, a detail sander is useful in corners and tight shapes, a sanding block gives the most control for edges and touch-ups, and a belt sander is best reserved for aggressive stock removal. The right choice depends on surface size, material, finish quality, dust control, and how much material needs to come off.
TL;DR: Use a hand block for precise light work, a random-orbit sander for most flat surfaces, a detail sander for corners, and a belt sander only when fast removal is genuinely needed. Match abrasive grit to the task, connect dust collection where possible, wear suitable eye and respiratory protection, and test on scrap or an inconspicuous area first.
Match the sander to the amount of material you need to remove
Sanding is not a single operation. Removing a thick finish from a tabletop, smoothing patched drywall, easing a sharp wood edge, and preparing cabinet doors for paint require different tools and abrasives. Starting with a tool that is too aggressive can create gouges or rounded edges that take longer to repair than the original defect.
OSHA's woodworking eTool describes common belt, disc, and drum sanders and notes that sanding generates substantial fine wood dust. Although its workplace rules are written for occupational settings, the underlying hazards are relevant to home users: moving abrasives, flying particles, noise, and dust all need control.
For tiny repairs, begin with the least aggressive tool that can do the job. You can always remove more material; replacing an over-sanded edge is harder.
Compare the main tools for DIY sanding
| Tool | Best use | Strength | Watch out for |
|---|---|---|---|
| Sanding block | Edges, small patches, final hand work | Maximum control | Slower on large areas |
| Random-orbit sander | Tabletops, shelves, doors, broad flat wood | Versatile finish with fewer obvious scratch patterns | Can round edges if held carelessly |
| Detail sander | Corners, profiles, narrow areas | Reaches spaces round pads cannot | Small pad removes material slowly |
| Sheet/orbital sander | Light finishing on flat surfaces | Simple and economical | Can leave directional or swirl marks if technique is poor |
| Belt sander | Fast leveling and heavy removal | Very aggressive | Easy to gouge or remove too much material |
| Sanding sponge | Curves, trim, between finish coats | Conforms to shapes | Not ideal for heavy leveling |
These are practical distinctions rather than absolute rankings. Tool design varies by manufacturer, and the material itself may require a different approach.
Choose by tool type
Use a random-orbit sander for general-purpose flat work
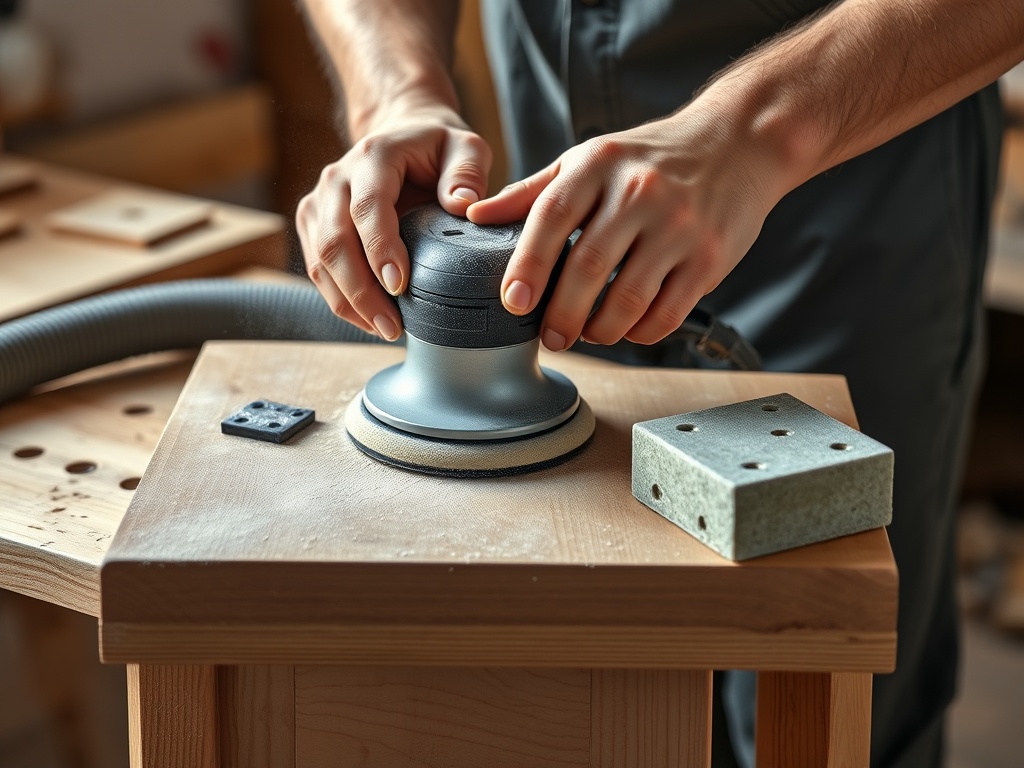
A random-orbit sander combines a rotating disc with an eccentric motion that helps reduce obvious directional scratch patterns. It works well for furniture repairs, shelves, doors laid flat, and other medium-size surfaces where a sanding block would be slow.
Keep the pad flat and let the abrasive work. Excess pressure can increase heat and create unevenness. Move steadily with overlapping passes and follow the manufacturer's shutdown instructions.
Dust collection is more than a cleanup convenience. NIOSH has studied dust control for orbital hand sanders, reinforcing the value of collecting dust close to where it is generated. Use the tool's dust bag or, preferably where compatible, a suitable vacuum or extraction system.
Choose a detail sander or hand block for edges and corners
Triangular detail sanders can reach inside corners and between narrow features. They are useful on shutters, small furniture parts, trim, and cabinet frames. Because the pad is small, they are not efficient for large tabletops.
A sanding block remains one of the best tools for controlling edges. It keeps the abrasive flat, reduces finger grooves, and lets you feel the surface directly. Wrap sandpaper around a cork, rubber, or purpose-made block and sand with the grain when working on visible wood surfaces.
For delicate profiles, a flexible sanding sponge or shaped block can follow contours without flattening crisp molding details.
Reserve belt sanders for jobs that need aggressive leveling
A belt sander can remove material very quickly. It is useful for leveling rough boards, correcting high spots, or stripping substantial surface material when the workpiece can tolerate an aggressive tool. It is rarely the first choice for a small finished cabinet door or thin veneer.
Keep the tool moving and practice on scrap before touching the project. On solid wood, work with the grain when the surface will remain visible. Do not linger at edges, where the belt can dig in rapidly.
If the project is part of exterior maintenance, inspect the material before sanding. How to inspect exterior siding for damage explains why moisture, rot, hazardous old coatings, and material type should be understood before surface preparation begins.
Progress through grits instead of jumping straight to fine paper
Coarse abrasives remove material quickly but leave deeper scratches. Medium grits refine the surface, and finer grits prepare it for finishing. The exact sequence depends on the material and finish, so follow coating or material instructions rather than using one universal grit progression.
Do not skip too many steps when a coarse abrasive has left deep marks. Fine paper can polish the high points while leaving scratches underneath. Vacuum or wipe away dust between grits so loose abrasive particles do not create random scratches.
For painted surfaces, the goal may be to scuff for adhesion rather than strip to bare material. For drywall compound, use tools and abrasives intended for drywall and control dust carefully. For metal, use abrasives rated for the material and consider sparks, heat, and coating hazards.
Treat dust and old finishes as safety issues
Wood dust can irritate the eyes, skin, and respiratory system. OSHA's wood-dust guidance emphasizes local exhaust ventilation as a primary control in woodworking environments. At home, work outdoors or in well-ventilated areas when practical, connect dust extraction, and use suitable personal protective equipment.
Older painted surfaces may contain lead, and some older building products can contain asbestos or other hazardous materials. Do not dry-sand a suspect coating until you understand the material and applicable safety rules. Testing or professional abatement may be necessary.
Keep cords and hoses out of the sanding path. Secure small workpieces rather than holding them near a moving abrasive. Remove loose jewelry and tie back hair. Follow the tool manual for guards, pad changes, speed settings, and compatible abrasives.
Maintain the tool and abrasive for better results
Replace torn, clogged, or glazed abrasive instead of compensating with more pressure. Empty dust bags and clean collection ports before they become blocked. Inspect hook-and-loop pads for damage and make sure the abrasive is centered so dust holes align where applicable.
Store sandpaper flat and dry, and label leftover sheets or discs by grit if the markings wear off. Organized abrasives reduce accidental grit changes.
Keep sanding dust from painted, treated, or unknown materials out of garden compost. For appropriate yard and kitchen materials, how to make compost faster without bad smells explains a safer, cleaner composting routine.
Choose control over speed for small projects
For most homeowners, a random-orbit sander plus a sanding block covers a large share of small jobs. Add a detail sander if you work around corners and profiles, and use a belt sander only when the project truly needs aggressive leveling. Good dust control, the correct abrasive, and patient passes matter at least as much as the tool itself.
Home and garden information is for educational purposes only and does not constitute professional carpentry, occupational-safety, hazardous-material, structural, electrical, or legal advice. Follow tool and abrasive manufacturers' instructions and seek qualified help when lead, asbestos, structural damage, or other hazardous materials may be present.[/