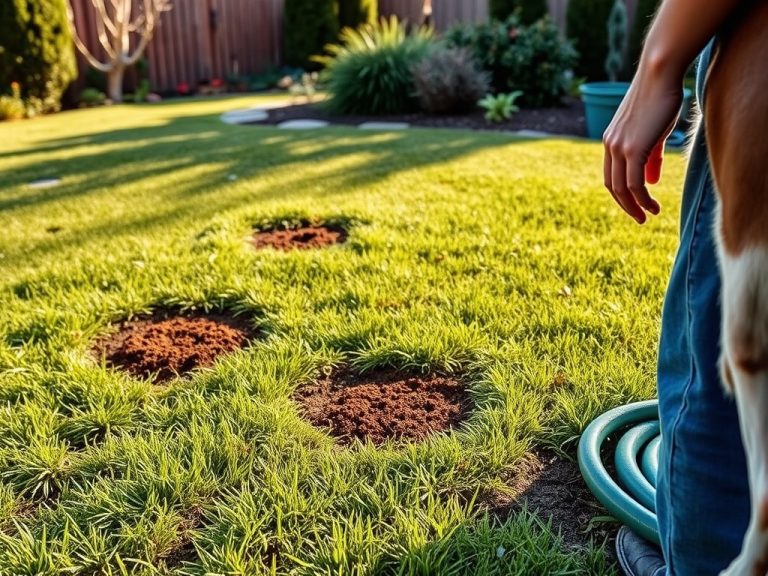
Inspect exterior siding by walking the home systematically from ground level, looking for cracks, loose or missing pieces, warping, open joints, failed caulk, staining, impact damage, and signs that water is getting behind the cladding. Pay extra attention below roof edges, around windows and doors, at wall penetrations, and near grade, where moisture problems often first become visible.
TL;DR: Inspect siding twice as a process rather than relying on one glance: first from a distance for broad waviness, missing sections, and staining, then up close for cracks, soft spots, loose fasteners, failed sealant, and moisture entry points. Do not climb ladders or remove siding if you are not equipped to do so; suspected structural or hidden water damage warrants professional evaluation.
Start with a safe ground-level walkaround
Choose daylight and reasonably dry weather. Walk the full perimeter from several feet away before getting close to the wall. Broad viewing makes it easier to spot panels that are bowing, courses that no longer align, areas of discoloration, or sections that appear to have shifted after wind or impact.
Bring a phone or camera for photos, binoculars for upper stories, and a notebook. A moisture meter can be useful later, but it should not be used as a substitute for understanding the wall assembly. Do not probe aggressively through finished surfaces.
The U.S. Department of Energy explains that wind-driven rain can enter walls through problems with siding, flashing, caulking, and other exterior joints. That makes water-management details around openings as important as the siding panels themselves.
Look for damage patterns rather than isolated blemishes
One small scratch is usually a surface issue. Repeated staining below multiple windows, swelling across a lower wall, or a long vertical crack can point to a broader cause. Photograph both the close-up defect and the surrounding wall so a contractor can see the pattern later.
Check for:
- cracked, split, chipped, or missing pieces;
- loose panels, rattling sections, or lifted edges;
- buckling, waviness, or unusual gaps;
- peeling paint or coating failure;
- rust on metal components or fasteners;
- soft, swollen, or decayed wood;
- chalky or powdery deterioration that is more than normal weathering;
- biological growth or persistent staining that suggests repeated wetting;
- openings where insects or water could enter.
Siding materials age differently. Vinyl can crack, loosen, or distort; wood can split, rot, or lose coating; fiber cement can chip or crack; metal can dent, corrode, or loosen; stucco can develop hairline or wider cracks. The severity depends on location, extent, and whether the defect allows water into the wall.
Inspect high-risk wall areas
Inspect windows, doors, corners, and penetrations
Water problems often begin where materials meet. Look around window and door trim, light fixtures, hose bibs, vents, utility penetrations, outside corners, and transitions between siding types. Check for failed sealant, missing flashing, open joints, or staining directly below an opening.
Do not automatically caulk every gap you see. Some wall systems have intentional drainage and ventilation openings that should remain open. If you do not know whether a joint is supposed to be sealed, identify the siding system or consult its installation guidance before applying sealant.
For routine upkeep elsewhere on the property, the best sanding tools for small home projects explains tool choices for surface preparation, but deteriorated siding should not be sanded until you understand the material and any lead-paint or asbestos concerns that may apply to older homes.
Check the lower edge and the ground around the wall
Look where siding approaches soil, mulch, decks, steps, and landscaping. Constant splashback and vegetation contact can keep some materials wet. Soil or mulch piled too high can hide the base of the wall and make inspection difficult.
Confirm that gutters, downspouts, and grading are directing water away rather than repeatedly soaking one section of siding. If the soil remains saturated beside the house, the wall may be receiving more moisture than the cladding system was designed to manage.
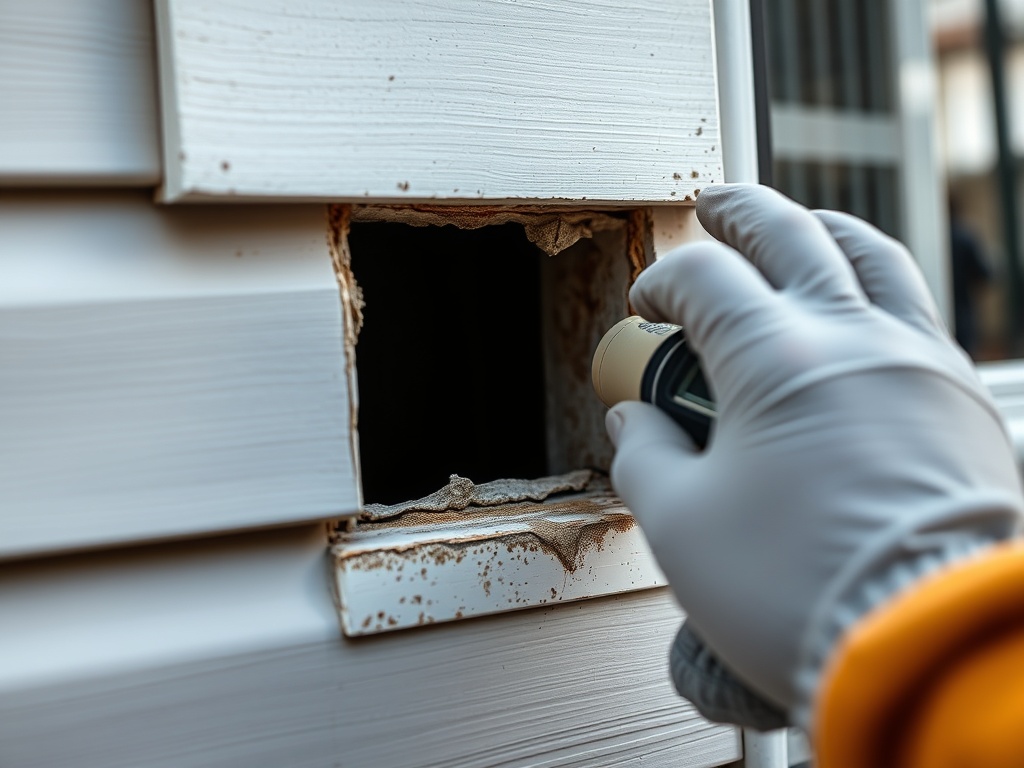
Do not dig around foundations, utilities, or drainage systems casually. If you suspect a grading or drainage defect, document the pattern first and obtain appropriate professional guidance.
Examine storm and impact damage promptly
After hail, strong wind, falling branches, or construction activity, inspect for fresh dents, cracks, missing pieces, and loosened accessories. Damage can be more extensive than it appears from the ground, especially on upper stories.
A federal homeowner repair guide hosted by the Department of Energy discusses assessing storm-damaged exterior walls and siding and emphasizes evaluating the extent of damage before covering or repairing wet materials. Hidden moisture is important because simply replacing a visible panel may trap a larger problem.
If a storm may have affected the roof as well, use a qualified inspector rather than climbing onto wet, steep, or damaged surfaces. Siding inspection should not create a fall risk.
Know when staining may signal moisture behind the wall
Persistent dark staining, swollen trim, peeling paint near joints, soft wood, musty interior odors, or repeated moisture at the same location deserve more investigation. Interior clues such as stained drywall or damp window returns can help connect an exterior defect to water entry.
Do not assume visible mold proves a particular source. Moisture can move through walls in complex ways, and condensation, plumbing leaks, roof leaks, and rain penetration can overlap. A building-envelope professional can use moisture mapping and selective investigation to identify the source with less unnecessary demolition.
Keep compost piles, wet organic material, and repeated irrigation away from direct contact with siding. How to make compost faster without bad smells covers outdoor compost management, while wall moisture itself requires a building-focused assessment.
Record small defects before they become hard to compare
Create a simple photo log with wide and close images, wall orientation, and date. Revisit questionable cracks or stains after a season or major storm so you can compare change rather than rely on memory.
For wood siding and painted trim, inspect coating condition and joints before bare wood is exposed for long periods. For vinyl or metal, check that panels still move or overlap as intended by the system and are not distorted by overtight fastening or heat. For fiber cement or masonry-type cladding, pay attention to cracks and joint conditions rather than assuming all surface lines are cosmetic.
Call a professional for structural or hidden damage
Seek help if siding is pulling away over a large area, the wall appears bowed, sheathing feels soft, water is entering indoors, rot extends behind the cladding, electrical components have been exposed to water, or the repair requires work high above ground. Older siding, coatings, and mastics may also contain hazardous materials that require testing before disturbance.
A siding contractor may be appropriate for material-specific repair, while a building-envelope specialist, engineer, electrician, or remediation professional may be needed when the problem extends beyond the cladding.
Make inspection a repeatable part of maintenance
A careful siding inspection is mostly observation: walk the perimeter, compare patterns, focus on openings and lower edges, and document change. Repair decisions become safer when you understand whether the defect is cosmetic, localized, moisture-related, or structural.
Home and garden information is for educational purposes only and does not constitute professional structural, engineering, electrical, environmental, mold-remediation, hazardous-material, or legal advice. Follow manufacturer instructions and current local building requirements, and use qualified professionals for elevated, hidden, or structural work.[/