The least disruptive way to remove invasive weeds is to identify the plant first, choose a control method that fits its root system, work when the soil is moist but not saturated, and disturb only the smallest area needed. Small seedlings and shallow-rooted plants may be hand-pulled, while deep-rooted or resprouting species often need repeated cutting, targeted digging, or species-specific treatment.
TL;DR: Confirm the weed is truly invasive in your region, remove it before seed set, minimize soil disturbance, capture roots or crowns that can resprout, and cover the opened ground afterward. Do not use the same technique for every invasive species; some respond well to pulling, while others spread faster when roots are chopped or stems are cut without follow-up.
Identify the plant before you pull it
“Invasive” has a specific ecological and regulatory meaning that differs from simply “unwanted.” A plant can be aggressive in a garden without being officially listed as invasive in your state, and a species that is invasive in one region may not be treated the same way elsewhere. Use your state agriculture department, local extension service, or the USDA-backed National Invasive Species Information Center to confirm identification and status.
The National Invasive Species Information Center summarizes physical and manual control methods, including hand-pulling, digging, cutting, mulching, and other techniques. The correct choice depends on the biology of the plant, the size of the infestation, and the surrounding vegetation.
Never pull a plant based only on a quick photo match if there is a chance it could be a native look-alike, a protected plant, or a species that can irritate skin. Wear gloves and protective clothing when identification or sap sensitivity is uncertain.
Decide how much root system must come out
Some annual weeds are effectively controlled by removing the plant before it sets viable seed. Some taprooted perennials can regrow if part of the crown or root remains. Rhizomatous species may produce new shoots from underground fragments, which means aggressive chopping can spread the infestation rather than solve it.
Penn State Extension’s guidance on integrated vegetation management notes that hand-pulling is practical for small infestations and shallow-rooted plants and recommends minimizing soil disturbance so buried seed is not unnecessarily exposed. That principle applies well to garden-scale work: disturb only what you must, then stabilize the site.
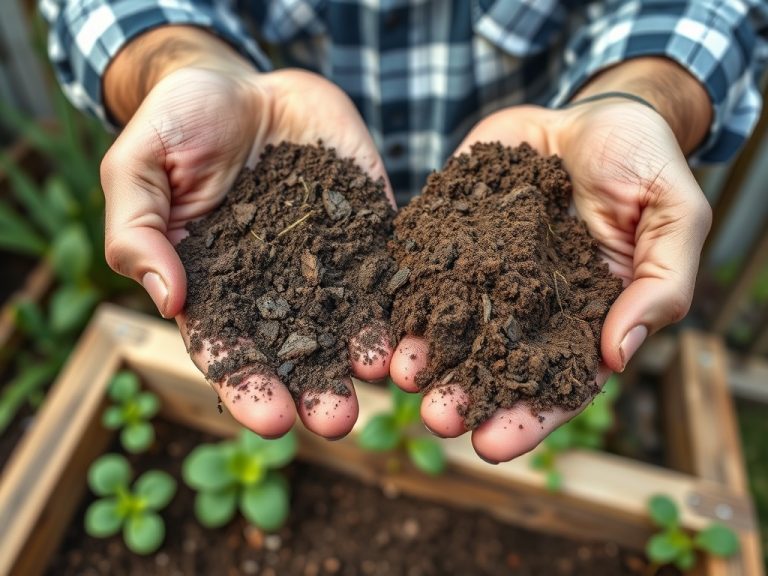
If the soil itself is extremely wet or dry, delay heavy digging when practical. How to tell if soil is too wet or too dry can help you choose a workable condition that lets roots release without turning the bed into compacted mud or rock-hard clods.
Remove weeds with minimal disturbance
Hand-pull small weeds with the soil slightly moist
Water the area lightly the day before if the soil is dry, or work after a moderate rainfall once excess water has drained. Grip the plant near the crown and pull slowly in line with the main root. A narrow weeding fork or hori-hori-style knife can loosen soil immediately around the root without overturning an entire bed.
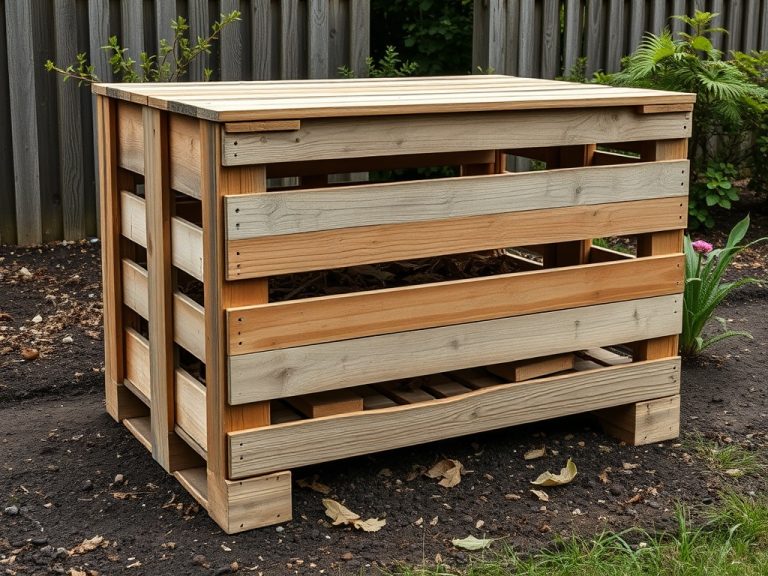
Place removed plants directly into a bucket, tarp, or bag instead of dropping them across the garden. Species with flowers, berries, seed heads, rhizomes, or rooting stem pieces may continue to spread after removal. Follow local disposal rules; some invasive plant material should not go into a normal backyard compost pile.
Do not shake mature seed heads over the soil to “save the dirt.” Losing a small amount of soil attached to a root ball is usually less damaging than returning hundreds of seeds to the bed.
Use targeted digging for crowns and persistent roots
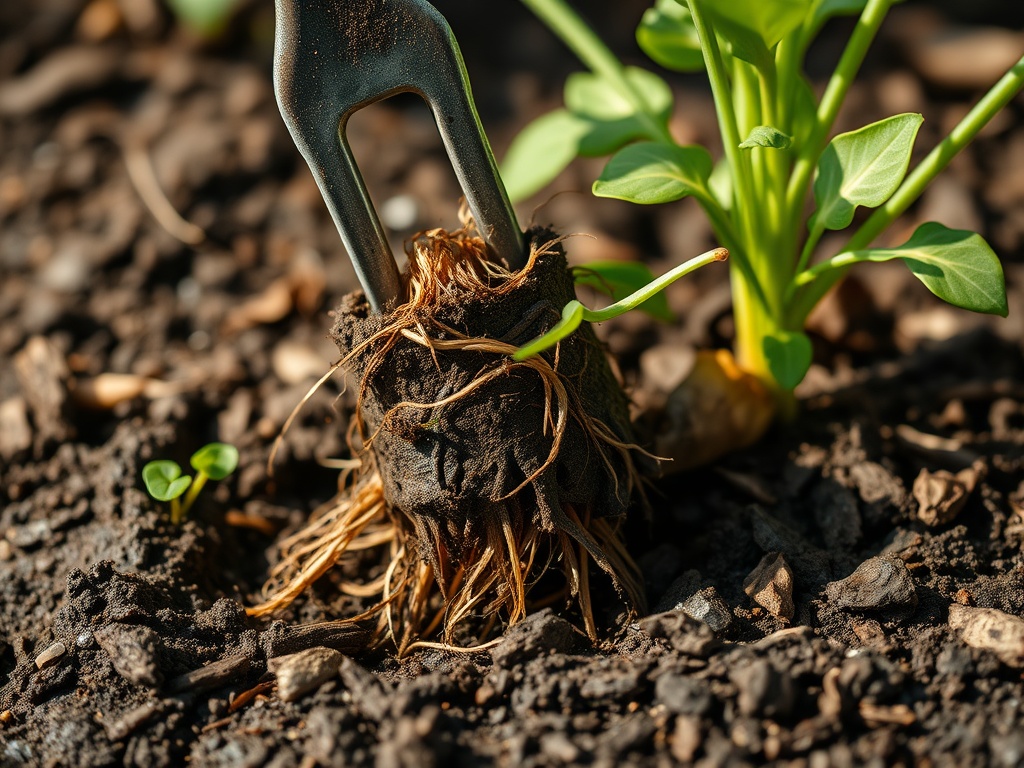
For a perennial with a crown or deep taproot, insert a narrow spade or digging fork beside the plant and loosen only the root zone. Lift rather than repeatedly chopping. If the species can resprout from fragments, inspect the hole and remove the root sections you can reasonably find without excavating an unnecessarily large area.
On slopes, stream banks, or erosion-prone sites, avoid creating extensive bare soil. Remove invasive plants in stages so desirable vegetation can continue holding the soil. Replant promptly with regionally appropriate species where necessary.
For woody invasive shrubs, pulling may work only when plants are young. Larger plants may require a root-wrenching tool, cut-stump treatment, or another method that should be selected from species-specific extension guidance. Herbicides can be useful in some cases but are not automatically the least damaging option; label directions, local regulations, nearby desirable plants, water, pollinators, and applicator safety all matter.
Avoid tilling an invaded bed unless the species calls for it
Rototilling feels thorough, but it can break perennial roots into many pieces, bring buried weed seed to the surface, damage soil aggregates, and disturb roots of desirable plants. In a mixed perennial bed, tilling is often more disruptive than selective hand removal.
Instead, create a small working zone around each target plant. Replace any displaced soil, press it gently back into contact with neighboring roots, and cover the disturbed patch with mulch or living plants. Mulch can suppress new seedlings, but it will not reliably kill every established invasive perennial.
If you are dealing with a large monoculture rather than isolated garden weeds, garden-scale advice may no longer be adequate. A local invasive-plant specialist, conservation district, or extension office can help develop a staged plan that protects soil and surrounding habitat.
Prevent seeds and fragments from returning
Removal is only the first pass. Inspect the area several times during the growing season and again the following year. Seed banks can remain viable, birds and wind can reintroduce material, and missed root pieces may resprout.
Mark the original patch so you can monitor it. Pull new seedlings while they are small, before they create another root system. Keep pathways, fence lines, utility edges, and compost areas under observation because these disturbed zones often provide entry points for weeds.
Do not spread questionable plant material in homemade compost unless you know the pile reaches and maintains conditions appropriate for destroying that species’ seeds or vegetative parts. For ordinary household composting, how to make compost faster without bad smells explains a clean process, but invasive weeds with viable seed or persistent propagules may still require separate disposal.
Restore the space instead of leaving bare ground
After removal, cover exposed soil with suitable mulch or replant with a non-invasive species adapted to the site. Dense, healthy vegetation competes for light, water, and space and can make it harder for new seedlings to establish. Choose plants based on local climate, soil, sun, and moisture rather than copying a generic national plant list.
Where beneficial insects are a priority, replacement plants can serve more than one function. Native flowering plants, bunchgrasses, shrubs, and other locally appropriate species can provide habitat while filling the ecological space left by an invasive. Plan replacements before removing a large patch so the area does not sit bare for months.
Keep the soil intact while reducing the weed seed bank
Gentle removal is a process, not a one-day purge. Identify first, remove before seed set, match the tool to the root system, keep soil disturbance narrow, and monitor the site. Repeated small interventions often protect surrounding plants and soil better than one aggressive excavation.
Home and garden information is for educational purposes only and does not constitute professional horticultural, pesticide, environmental, structural, electrical, or legal advice. Invasive-plant rules and herbicide requirements vary by jurisdiction; follow current local guidance and product labels.[/